Explore
Discovery
Recent
Trending
Content
Images
Videos
Animated
Tags
Albums
Users
Top Tags
Apple iPhone 16 Pro
SONY ILCE-7M2
Random
Search
Advanced search
All these words
This exact word or phrase
None of these words
Upload
Sign in
About
API
Plugin
Helno
45
files
5
albums
Apple iPhone 16 Pro
SONY ILCE-7M2
Files
Most recent
Most recent
Oldest
Most viewed
AZ
IMG 7075
Diablo
IMG 7076
Diablo
IMG 7077
Diablo
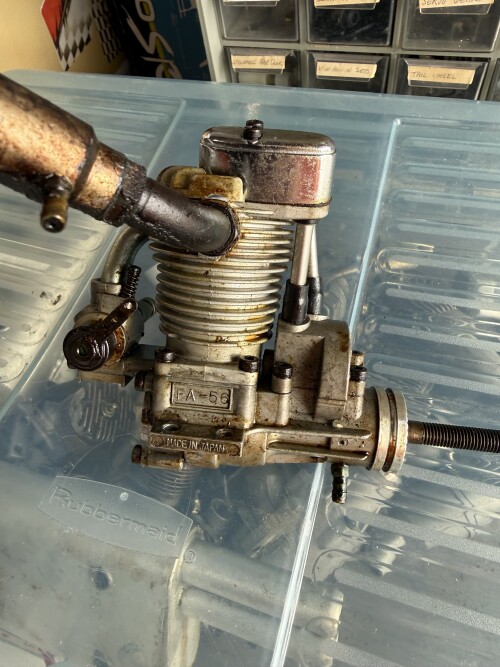
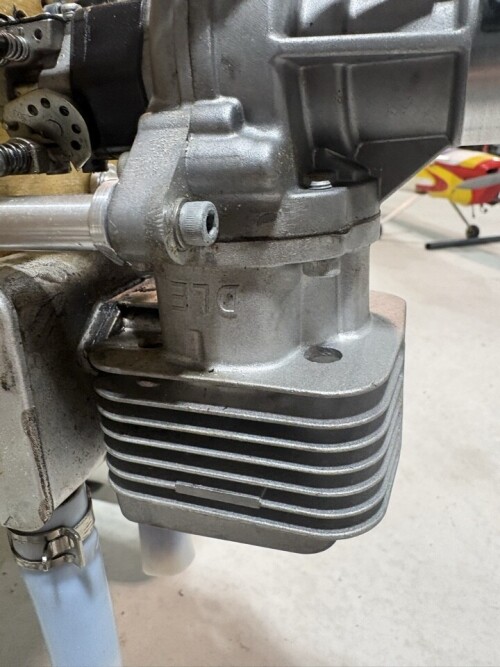
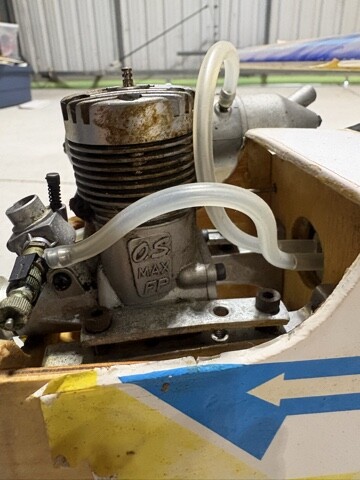
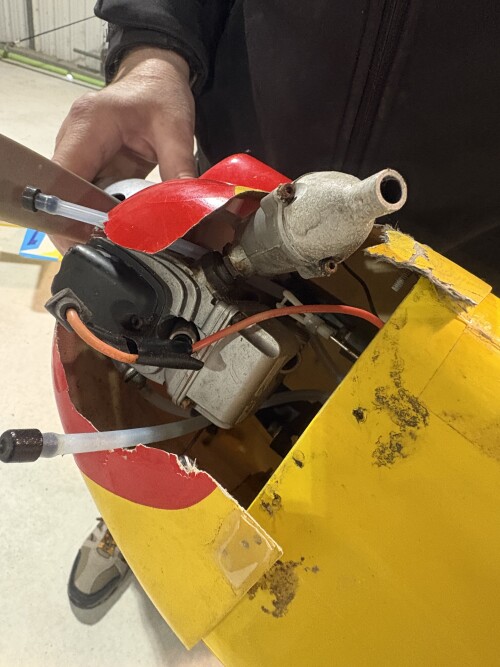
IMG 7027
Motors
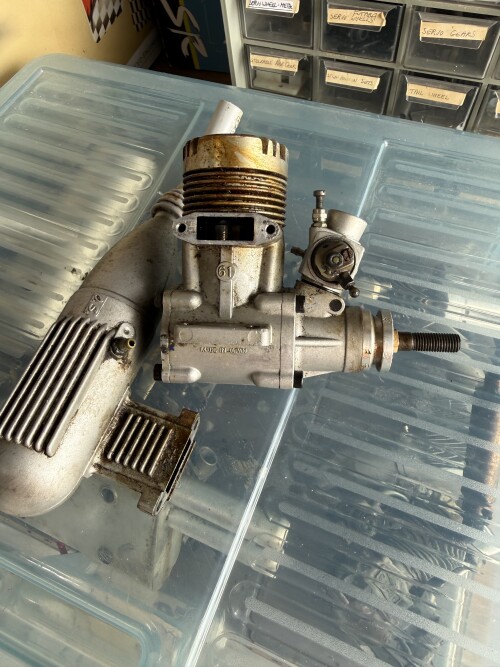
IMG 7028
Motors
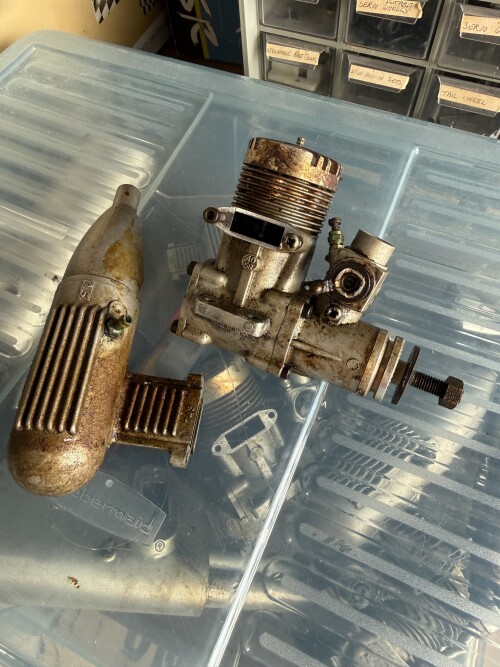
IMG 7029
Motors
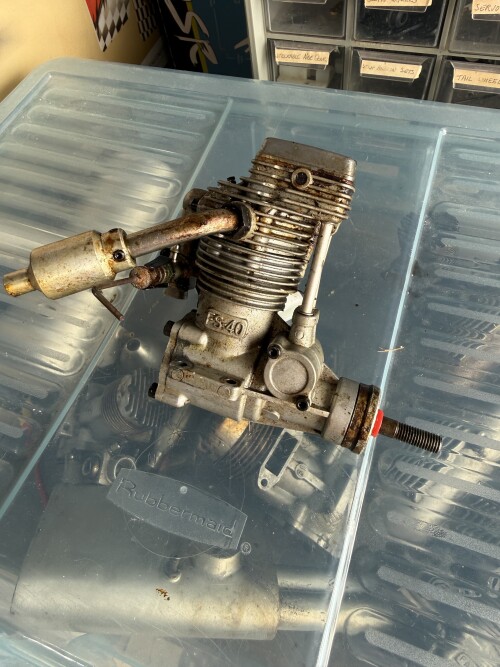
IMG 7032
Motors
IMG 7030
Motors
IMG 7031
Motors
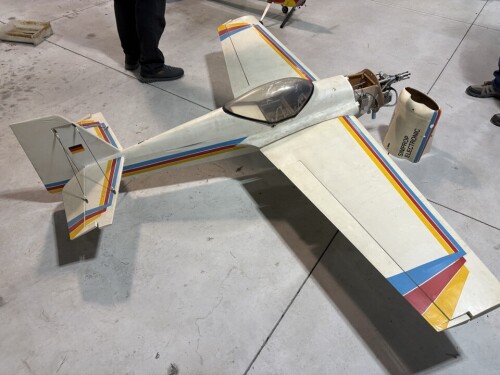
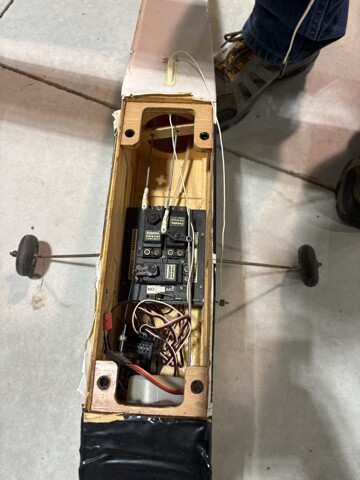
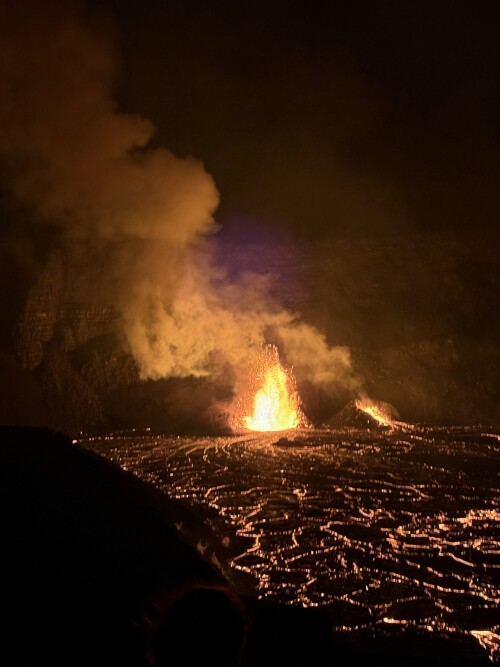
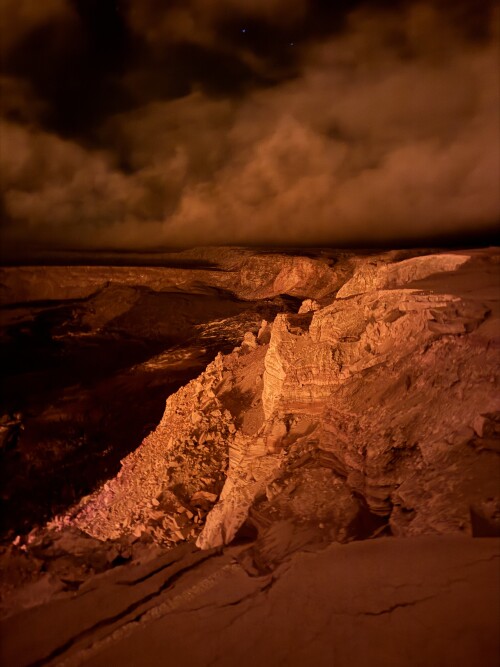
image 20 04 26 05 34 1
Diablo
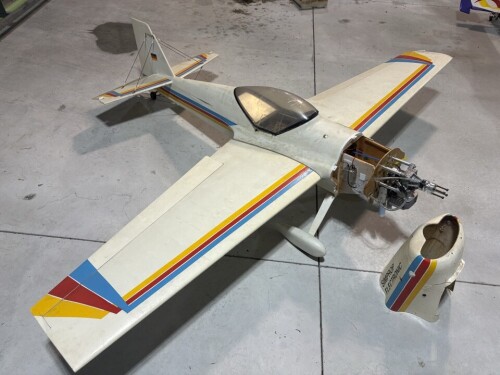
image 20 04 26 05 34
Diablo
image 20 04 26 05 33
Diablo
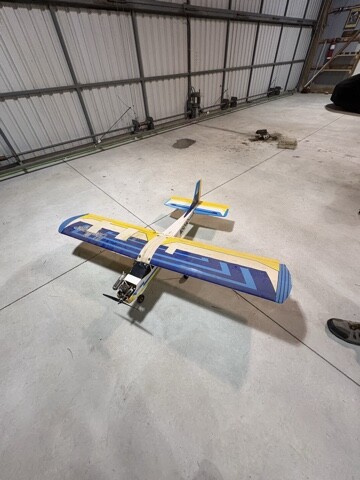
image 20 04 26 05 27 1
Challenger trainer
image 20 04 26 05 27
Challenger trainer
image 20 04 26 05 26 2
Challenger trainer
image 20 04 26 05 26 1
Challenger trainer
image 20 04 26 05 26
Challenger trainer
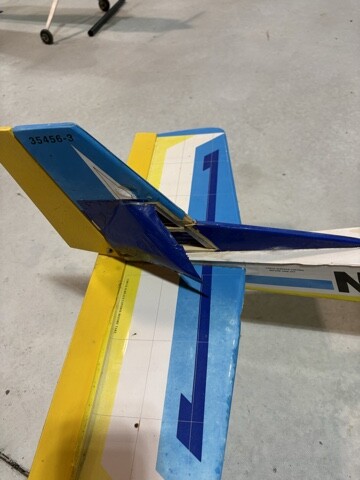
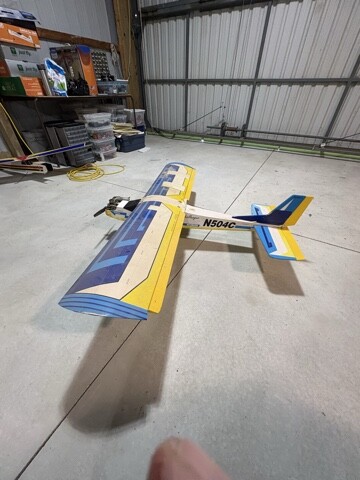
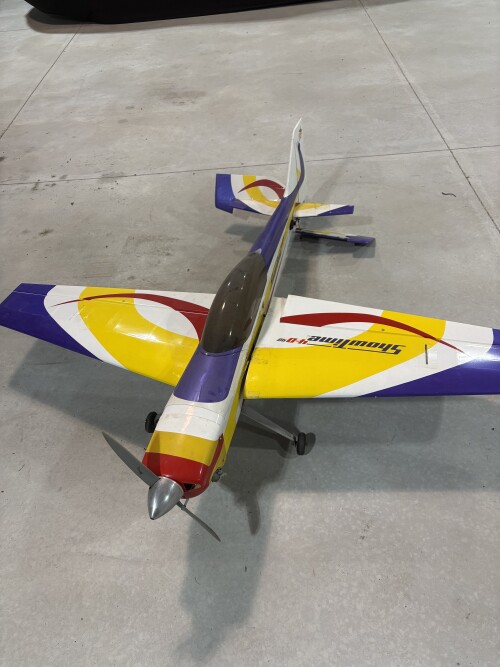
image 20 04 26 05 23 1
Showtime
image 20 04 26 05 22
Showtime
image 20 04 26 05 23
Showtime
IMG 5675
Files by helno
IMG 5674
Files by helno
IMG 5657
Files by helno
IMG 5664
Files by helno
1
Load more
Load more
There's nothing to show here.
Embed codes
Viewer link
Direct link
Frame link
Thumbnail link
Medium link
HTML embed
HTML full linked
HTML medium linked
HTML thumbnail linked
Markdown full
Markdown full linked
Markdown medium linked
Markdown thumbnail linked
BBCode full
BBCode full linked
BBCode medium linked
BBCode thumbnail linked
copy
copy
copy
copy
copy
copy
copy
copy
copy
copy
copy
copy
copy
copy
copy
copy
copy
Share
__privacy_notes__
Link
copy
%name%


 media sharing software